ET-Demo
记录学习ET框架的自带Demo
Demo启动脚本
Demo的初始入口是挂载在 Init.Scene 场景中的 Unity.Model.Init.cs 类,其中加载了一系列的 Component ,这个后面再探讨。
其中终点在下面这段代码:
// 下载ab包
await BundleHelper.DownloadBundle();

Game.Hotfix.LoadHotfixAssembly(); // 加载热更新程序集 "code.unity3d" Bundle

// 加载配置
Game.Scene.GetComponent<ResourcesComponent>().LoadBundle("config.unity3d");
Game.Scene.AddComponent<ConfigComponent>(); // 配置组件,管理所有config配置
Game.Scene.GetComponent<ResourcesComponent>().UnloadBundle("config.unity3d");
Game.Scene.AddComponent<OpcodeTypeComponent>(); // 管理操作编码类型组件,区分消息分发时的操作类型
Game.Scene.AddComponent<MessageDispatcherComponent>(); // 消息分发组件

Game.Hotfix.GotoHotfix(); // 解析热更新代码
上面的意思是从资源服务器下载ab包,并加载热更新资源并解析热更新代码等,下面具体来看热更新代码。
通过 Game.Hotfix.GotoHotfix(); 往下会发现分为两种条件,一种是基于ILRuntime的代码解析一种是基于Mono的代码解析,具体使用哪种需要看 Unity -> Project Setting -> Player 中是否加入ILRuntime设置字段。
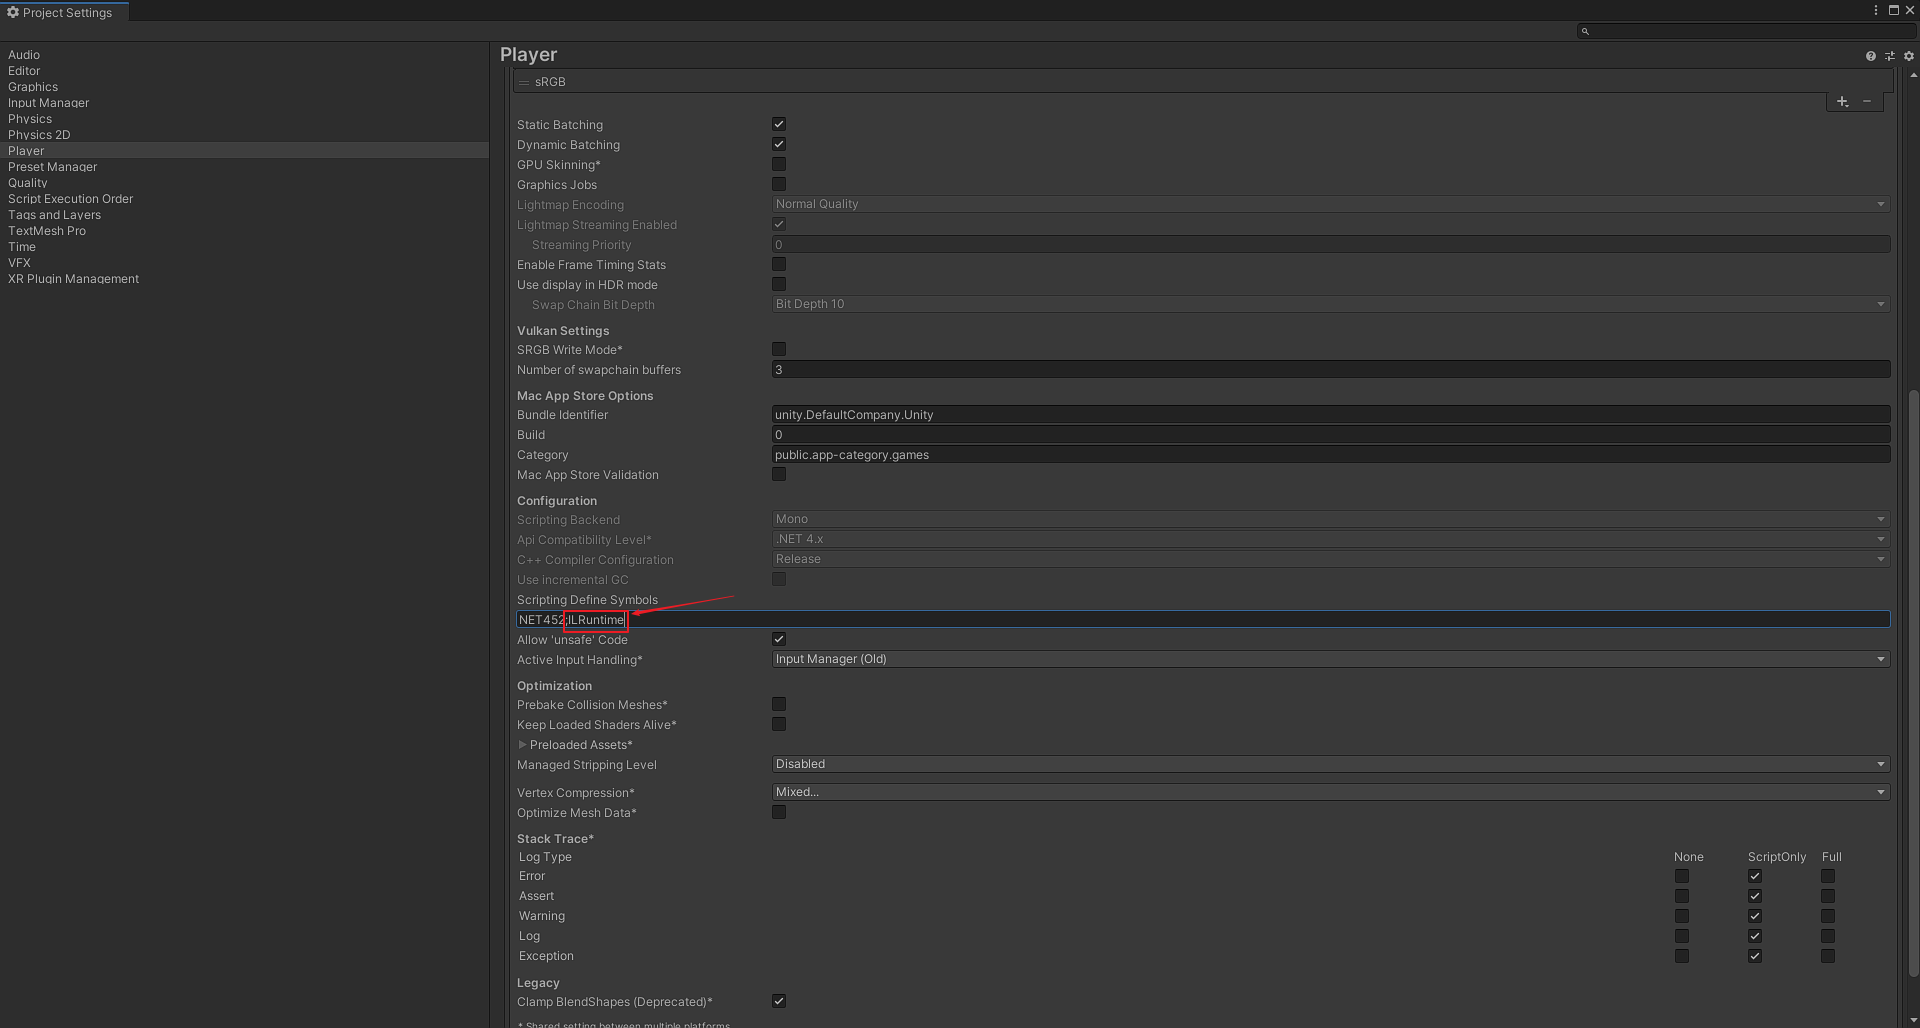
通常,Editor开发模式下使用Mono,因为可以Debug调试热更新层的代码,在正式环境中使用ILRuntime模式。
接着进入 Unity.Hotfix.Init.cs 类,仍然是加载一些组件,这里需要说明的是加载ConfigComponent组件,即加载游戏配置表数据等,在下面的Get方法中获取指定ID的数据信息,然后发送一个类型为 InitSceneStart 的事件请求。
最后在订阅该请求的地方执行订阅逻辑,创建一个UILogin的对象工厂 UILoginFactory ,其中的Create()方法中有具体的实例化登录界面的逻辑,然后将实例化的 UILoginComponent 节点绑定在 UIComponent 组件上,这里的UI数据绑定都在 UILoginComponent 中完成。
    public class UILoginComponent: Component
    {
        private GameObject account;
        private GameObject loginBtn;

        public void Awake()
        {
            ReferenceCollector rc = this.GetParent<UI>().GameObject.GetComponent<ReferenceCollector>();
            loginBtn = rc.Get<GameObject>("LoginBtn");
            loginBtn.GetComponent<Button>().onClick.Add(OnLogin);
            this.account = rc.Get<GameObject>("Account");
        }

        public void OnLogin()
        {
            LoginHelper.OnLoginAsync(this.account.GetComponent<InputField>().text).Coroutine();
        }
    }
上面的代码即展示UI界面如何完成数据绑定以及方法绑定的,让UI开发无需在场景中进行拖拽绑定赋值,只用完成摆放,后面的工作都通过代码来控制,省时省力还不容易出错。
执行登录操作
在展示了登录界面之后,点击登录按钮会执行上面 OnLogin() 方法,这里面的操作就是比较核心的了。
待更新...